Key Specs
| Spec | Value | Condition | Source |
|---|---|---|---|
| function | Step-Down | Digi-Key | |
| output_configuration | Positive | Digi-Key | |
| topology | Buck | Digi-Key | |
| output_type | Adjustable | Digi-Key | |
| number_of_outputs | 1 | Digi-Key | |
| input_voltage_min | 4.5V | Digi-Key | |
| input_voltage_max | 40V | Digi-Key | |
| output_voltage_min | 1.2V | Digi-Key | |
| output_voltage_max | 37V | Digi-Key | |
| output_current_max | 3A | Digi-Key | |
| switching_frequency_typ | 150kHz | Digi-Key | |
| synchronous_rectifier | No | Digi-Key | |
| operating_temperature_range | -40°C ~ 125°C (TJ) | Digi-Key | |
| mounting_type | Through Hole | Digi-Key | |
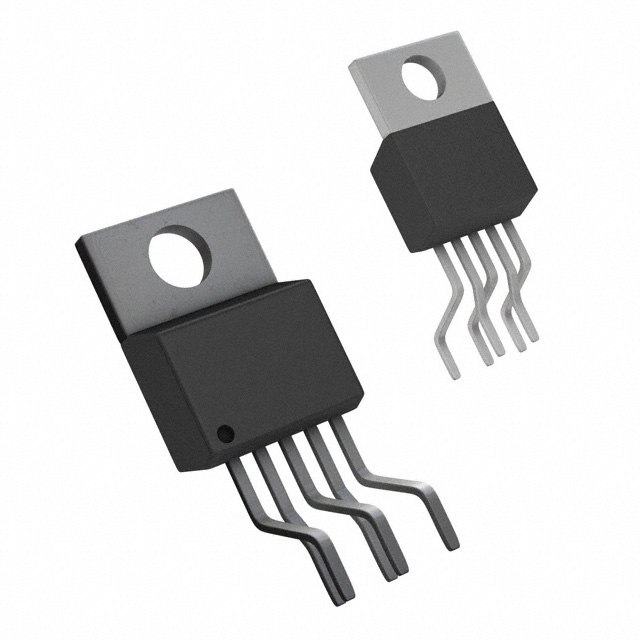
| package_case | TO-220-5 Formed Leads | Digi-Key | |
| supplier_device_package | TO-220-5 | Digi-Key |
When To Use
-
24V industrial/24V bus → 16.0V @ 3A: The 40V maximum input voltage and 3A output current max perfectly match a 24V bus stepping down to 16V at full load. Using a part with lower current rating risks thermal runaway as the device overheats under continuous 3A load in a TO-220 package without adequate heat sinking.
-
12V automotive/battery rail → 5.0V @ 1.5A: The input voltage minimum of 4.5V and max of 40V covers typical automotive battery variations, and the 3A max output current rating provides comfortable margin at 1.5A load. A synchronous buck controller might be more efficient, but an LM2596T-ADJ/NOPB prevents latch-up issues seen in synchronous designs under load dump due to its diode-based topology.
-
4.5V–40V wide-input supply → 1.2V–16.0V @ 2.2A: The adjustable output range from 1.2V to 37V and wide input voltage range up to 40V enable flexible design in this application. Using a device with lower input voltage max or fixed output voltage would cause shoot-through or dropout failures when input or output voltages fall outside the supported range.
When Not To Use
-
Load current consistently above 3A: The 3A maximum output current rating is a hard limit; exceeding it risks device destruction from thermal runaway. Use a multi-phase buck controller designed for higher continuous output currents.
-
When highest efficiency at moderate loads is critical: The absence of synchronous rectification means diode losses reduce efficiency and increase heat. Use a synchronous buck controller to eliminate diode conduction losses and avoid excessive junction temperature rise.
-
Input/output voltage differential less than 1.2V with noise-sensitive loads: The LM2596T-ADJ/NOPB minimum dropout voltage and switching noise make it unsuitable for low headroom, low-noise applications. Use an LDO regulator to minimize output ripple and maintain regulation within a small voltage differential.
Related Calculator
Use the Buck Converter Inductor & Capacitor Calculator to size L and C_out for your LM2596T-ADJ/NOPB application (3A, 150kHz switching).
Application Notes
IC dissipates ≈6.3W at Vin=40V→Vout=19.1V @ 1.5A (η≈82%). θJA = 50°C/W (TO-220, no heatsink, per datasheet). At 25°C ambient: TJ = 25 + 6.3×50 = 340°C — EXCEEDS the 125°C maximum. Heatsink is mandatory at full load. With a small heatsink (θJA ≈ 20°C/W): TJ ≈ 151°C.
-
The switching node (SW) pin must be routed with short, low-inductance traces and kept away from sensitive analog signals to minimize EMI coupling from the 150kHz switching waveform.
-
Pins 2 (Feedback) and 4 (Ground) are noise-sensitive; guard routing and careful layout around these pins reduce ripple-induced regulation errors.
-
The output (switch) pin should avoid large copper areas to prevent excessive switching node capacitance, which can increase switching losses and EMI.
Minimum External Components
Catch diode — Schottky, Vr ≥ 40V, If ≥ 3A Selection: Schottky forward recovery < 10ns vs 200–500ns for silicon. At 150kHz (period = 6.7µs), a 500ns-recovery diode is off for only 6.2µs before the next switch-on — it never fully turns off. Failure mode: Standard silicon rectifier: 200–500ns reverse recovery at 150kHz causes shoot-through current spikes every cycle — IC switch current exceeds rating, causing thermal runaway or immediate failure.
Output inductor — 68µH Selection: Isat ≥ 3.8A (peak current at max load). DCR < 100mΩ to limit conduction loss. At Vin=22V→Vout=5.5V: range is 33–68µH (30%→15% current ripple). Use 68µH for good regulation; 33µH acceptable if BOM cost is critical. Isat must be ≥ 3.8A — under-sizing Isat is the leading cause of field failures: the inductor saturates under peak current, spiking IC switch current beyond its rating. Failure mode: Isat below peak inductor current → core saturates → effective inductance collapses → switch current spikes beyond IC rating → thermal shutdown or permanent failure.
Input capacitor — ≥100µF electrolytic + 100nF ceramic (parallel) Selection: Electrolytic handles bulk ripple current; ceramic bypasses switching spikes. Voltage rating ≥ 40V with 20% margin. Failure mode: Insufficient input capacitance: supply rail collapses during switch-on current demand → output droops → erratic regulation and potential latch-up.
Output capacitor — ≥100µF electrolytic Selection: ESR < 200mΩ to keep output ripple below 50mVpp. Voltage rating ≥ 46V. Failure mode: High-ESR electrolytic: output ripple voltage = ESR × ΔIL. At 1A ripple and 500mΩ ESR → 500mVpp ripple — exceeds spec for virtually all loads.
Feedback resistors R1 / R2 — R1 = 1.21kΩ (1%), R2 = R1 × (Vout/1.2 − 1) Selection: 1% metal-film tolerance minimum. R1 sets the bias current into the FB divider; values 1.21kΩ–10kΩ keep FB current in the datasheet-recommended range. Failure mode: 5% resistors introduce ±5% Vout error. R1 too large (>100kΩ) → FB pin susceptible to noise injection → oscillation or false regulation.
Design Equations
Output voltage: Vout = 1.2V × (1 + R2/R1)
R1 is typically 1.21kΩ–10kΩ (1% tolerance). Solve for R2: R2 = R1 × (Vout/1.2 - 1). Example: for 5V with R1=1.21kΩ → R2 ≈ 3.74kΩ (use 3.74kΩ 1%).
Inductor sizing: At Vin=22V→Vout=5.5V: range is 33–68µH (30%→15% current ripple). Use 68µH for good regulation; 33µH acceptable if BOM cost is critical. Isat must be ≥ 3.8A — under-sizing Isat is the leading cause of field failures: the inductor saturates under peak current, spiking IC switch current beyond its rating.
Gotchas
-
[Mistake]: Omitting a heat sink on the TO-220 package at or near 3A load with high input voltage.
What happens: Junction temperature rapidly exceeds 125°C maximum, causing thermal runaway and permanent device damage.
Fix: Attach an appropriately sized heat sink and verify junction temperature with thermal measurements or simulation. -
[Mistake]: Using an external diode with higher forward voltage than specified.
What happens: Increased diode conduction losses cause excessive power dissipation and possible diode or regulator thermal failure.
Fix: Select a Schottky diode with forward voltage and current rating matching or exceeding the LM2596T-ADJ/NOPB’s maximum load conditions. -
[Mistake]: Routing the feedback trace near the switching node or noisy power traces.
What happens: Feedback noise induces output voltage ripple and possible instability or oscillation.
Fix: Route the feedback (pin 2) trace away from SW node, use a ground guard or shield, and keep feedback loop area minimal. -
[Mistake]: Applying input voltage below 4.5V or output voltage below 1.2V design limits.
What happens: The regulator fails to maintain regulation, output voltage collapses, causing load undervoltage and potential system malfunction.
Fix: Ensure input and output voltage ranges strictly adhere to 4.5V–40V input and 1.2V–37V output specifications.